By Will Bonsall
While cabbage may lack the glamour of its chic relatives — broccoli, cauliflower and Brussels sprouts — it is an old ally which has nourished the people of northern Europe through good times and bad. It stores well to feed hungry bellies.
I’m talking about true cabbage, not Chinese cabbage, which is a close relative of turnips, whereas cabbage is descended from the wild seaside plant colewort, along with kale, collards, kohlrabi and the aforementioned members of Brassica oleracea.
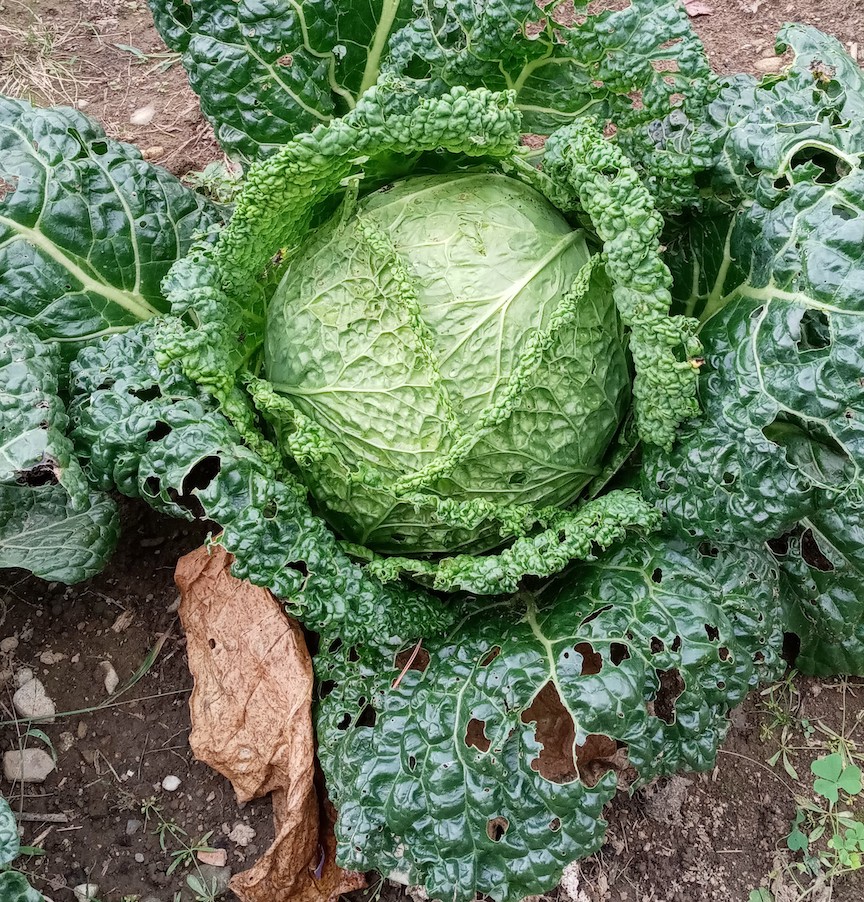
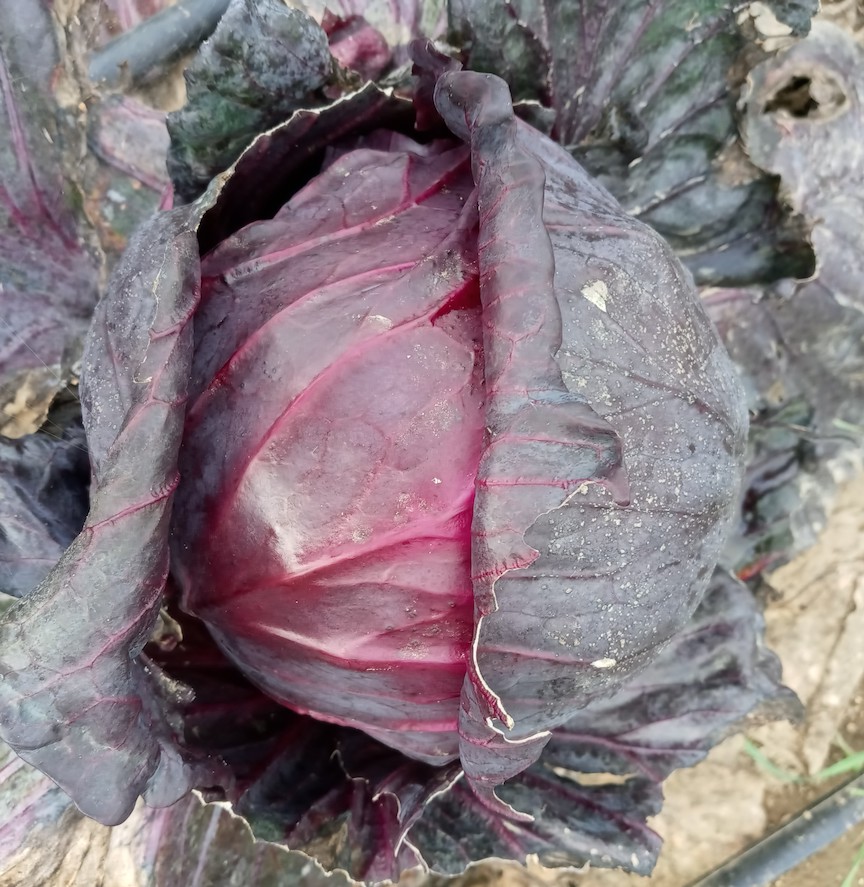
For my purposes there are three types of cabbage: green, red and savoy. The first two are ideal for sauerkraut, whereas savoy cabbage, due to its crinkly leaves, does not kraut well, being better suited for raw salad (as in Waldorf) or steaming or stir-frying.
photo
My main crop is the green hard-headed type such as Danish Ballhead and its ilk; this year I had great success with Green Acre. I find red varieties late and harder to grow, but I really love the beautiful kraut they make. By the way, that surprised me, since I’d found steamed red cabbage tends to turn an ugly grey-blue, especially when cooked in cast iron. However, in sauerkraut the acidity of fermentation makes red cabbage a gorgeous magenta-red, sort of like litmus paper I suppose.
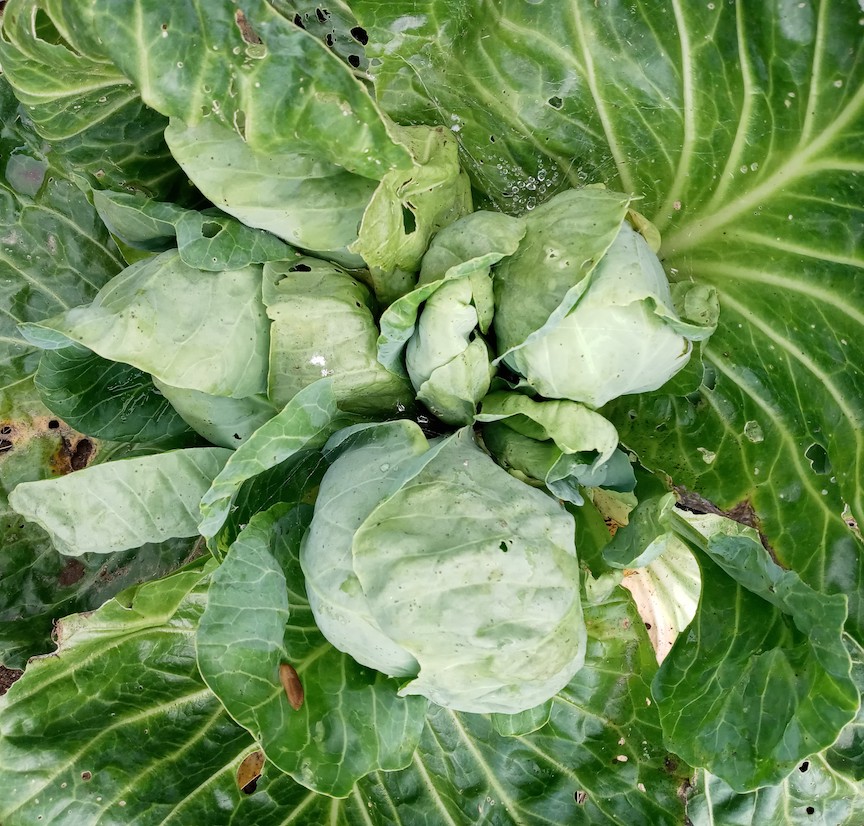
I start all my cabbage plants in early to mid-April in 50-cell seedling trays. It’s usually late May before I get around to setting them out, though I’m sure their cold-hardiness would allow me to set them out much earlier. They’re mostly vulnerable to setbacks in the first couple of weeks, so I have my watering system in place before planting.
Cutworms used to be a bigger problem for me, but I first got them under control by patrolling the patch daily — it literally takes a few minutes of quick scanning — for fallen plants and finding and killing the culprit before replacing the downers. Over the years that patrolling seems to have broken the cycle and keeps the cutworms well under control. Incidentally that same strategy seems to work well for peppers, favas and the many other crops that are susceptible to cutworms.
Flea beetles are a problem with all Crucifera (cabbage, turnip, radish), especially when they’re young seedlings. There are several ways to deal with them: avoid heat- and drought-stress by regular watering; mulch very early (preferably with shredded leaves) as flea beetles like hot, dry, bare soil; and/or spray with Pyganic or make your own repellent spray from rhubarb leaves by chopping, boiling and straining the liquid. The rhubarb spray works best with two or more light mistings on a dry sunny day, so the juice dries into a glazed-looking coat instead of beading up and running off. Once the young seedlings get established, flea beetles will be much less of a problem.
White cabbage moths, or rather their larvae (green cabbage worms), can become a serious problem. Pyganic can be effective, but the bacterial spray Bt can last longer and is not a broad-spectrum insecticide. Row cover is also very effective.
Woodchucks are often a problem unless you can trap, shoot or smoke them out. In my experience, row covers do little to protect against them, they just make a tangled mess of it. I keep deer out of my garden in general with electric tape, but you must keep it baited — I use cheap peanut butter smeared on bits of aluminum foil stapled onto the electric tape. Unless the deer actually touch their tongues to the tape (5,000 volts makes cabbage much less tasty to them) they may just step over or under it without any concern.
Cabbage is quite a heavy feeder. It requires not only a generous amount of available nitrogen, but also potassium, phosphorus and high humus levels. I find I can provide all those and much more with tree leaves alone. I do this in several forms: compost, which may be mostly or only tree leaves, or turned directly into the soil the previous fall (preferably shredded but not necessarily), or applied as heavy mulch (again shredded to prevent blowing away). I’ve also heard that leaves are much better than animal manure in terms of avoiding clubroot in cabbage. That may be due to the greater humus that leaves provide, creating a more vibrant soil community to keep both nutrients and diseases in balance.
The use of mulch complicates the use of companion crops and living mulches; how can I use all at the same time? I have done so with cabbage, though I am still experimenting. Here are some of my experiences so far. I space my plants 24 inches apart, between rows and within the row. Within the row I alternate one of several companions, lettuce and endive being among my favorites, but I’ve also used purslane, bulb fennel and edamame soybeans with success. Thus, every plant is 12 inches from the next nearest crop plant in the row. Then, in between the rows (12 inches from either cabbage row) I thinly sow a row of Dutch white clover. As soon as all plants are a couple of inches tall, I over-mulch the entire bed with shredded leaves.
By the way I don’t laboriously lay down mulch by hand, rather I create a blizzard of shredded leaves over everything, letting the mulch sift down and around the various crop plants, taking some care not to bury them. I specify Dutch white clover rather than ladino or red clover, which might overshadow them and encourage slugs, whereas the Dutch white clover is low and sprawling, spreading over the leaf mulch and under the crop plants without interfering with anything. As weeks pass, the bed will be covered by a mat of weed-repressing, soil-building clover, although the actual clover roots are 12 inches away from the nearest crop plants. In effect I have a double mulch: the shredded leaves and the living clover mulch. I don’t always have my act together enough to pull off this complicated configuration, but when I do the benefits are enormous: repressing weeds, keeping soil cool and moist, and building soil fertility two ways, all while producing a main cabbage crop and a second companion crop.
My main cabbage crop, especially the storage varieties, aren’t usually ready to harvest until October. When some plants head up early and I’m not ready to pull them for krauting yet (for example if it’s too warm), there’s a danger the heads may split open, ruining them for storage and causing lots of waste. One trick is to hold the plants firmly and either give them a slight twist or pull them gently upward, not enough to uproot them but enough to check their further growth until I’m ready to deal with them, as when cold weather approaches.
When I do cut them I leave much of the stem attached after removing the loose outer leaves (some of which are still crisp and green and fine to use like kale, though they will not store) and place them sideways on a cellar shelf — placing them upside down tends to trap moisture and hasten decay. I’ve heard of people tying and hanging cabbages from the cellar ceiling, but I never tried that. All that is relevant mainly for the hard storage types — those best for krauting. Savoy types are richer in flavor but don’t store as well, as their looser texture allows them to wither faster. I keep back enough of those for fresh use earlier in the season, but the rest I blanch and freeze for winter use.
Most cabbage varieties require a rather long season, but an exception is Early Jersey Wakefield. It is ideal for summer use, but can also be planted late, in early July, for a fall crop. The conical heads are smaller and somewhat less solid, so less suited for kraut though certainly usable. Because of the smaller plant size I can space them closer (18 inches in the row, like broccoli). Sauerkraut made from early-planted Wakefield will be too early for cellar storage, so you must can it soon after, which in my opinion defeats the main purpose of sauerkraut as a storage method. Because of its quick maturity, I’ve sometimes used Wakefield to fill in gaps where my main crop cabbage failed (say, due to cutworms).
Making Sauerkraut
Making sauerkraut to ferment is no big deal if you have a warmish place (room temperature at least) to ferment it and a cold place (as in a root cellar or walk-in cooler) to store it, although the latter is less important if you intend to can it when ready.
I’ve always used a large (20-gallon) crock, but more recently I’ve managed well with 5-gallon plastic buckets. I shred the cabbage finely with a large knife (I don’t have a slaw-cutter which aren’t easy to come by nowadays). When I’ve chopped 4 pounds, I add 2 tablespoons of salt (in my case, Maine sea salt which I make by boiling down clean sea water collected on outings to the coast). I mix the salt into the slaw and let it sit for about a half-hour so that the cabbage wilts and releases a lot of its juice.
I continue doing those 4-pound batches and pack each layer firmly into the crock using the wooden mallet that came with my Squeezo Strainer. Lacking that, I suppose I would just use a 3-inch, peeled clean stick of firewood, ideally maple or beech. Compressing each cabbage layer forces out as much air as possible. It is the anaerobic fermentation which produces lactic acid, a natural preservative, and air pockets could lead to spoilage.
When the crock/bucket is full to within a few inches of the top, I layer on whole outer cabbage leaves (or as whole as they can be kept) to help seal out air. Then I place a ceramic plate which is slightly smaller than the crock/bucket on top. If you’ve done things right so far, the shredded cabbage should be awash with brine, or it soon will be. The fresher the cabbage the more and better the brine. If the brine overflows the plate, so much the better.
Cabbage stored for several weeks will be drier and produce less brine. Adding water to compensate will only dilute the flavor and sugar content, and it is the sugar which beneficial bacteria convert into the preserving lactic acid. As the cabbage ferments, gas bubbles will form and you need to press them out as they form. I collect several clean stones — jasper or quartz are ideal as they are impervious — and place them atop the plate.
A scum will usually form on this surface and it may coat the stones; no harm but I scrub them thoroughly every season. Some people merely fill a gallon pickle jar with water and use that instead of stone. I put the buckets (several, as kraut is a big item in my diet) on the floor near the woodstove, set up on a couple of sticks to allow airflow underneath, and leave them to bubble and foam for a few weeks, taste-testing occasionally to see if the acidity seems about right, until the bubbling ceases. At that point I either can it or move it into the root cellar for fresh (that is, raw) use during the winter. In late winter the kraut may start to form mold on top, and I skim it off and can any sauerkraut I haven’t used yet.
For variations, one may alternate the 4-pound cabbage layers with thin layers of finely sliced carrots, green beans or other vegetables, or add caraway seeds. I prefer to add those while preparing the meal, as sometimes I just prefer the plain cabbage.
About the author: Will Bonsall lives in Industry, Maine, where he directs Scatterseed Project, a seed-saving enterprise. He is the author of “Will Bonsall’s Essential Guide to Radical Self-Reliant Gardening” (Chelsea Green, 2015). And indeed, he is also a distant cousin of another exemplary Maine horticulturist: Tom Vigue. You can contact Will at [email protected].
Note: Certified organic producers should check with their certifier before using any pesticides (including pest repellents) not mentioned on their organic farm plan. When using pesticides on crops grown commercially and intended for human consumption, an applicator’s license may be required.