 |
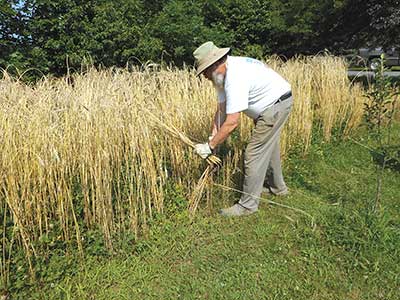 |
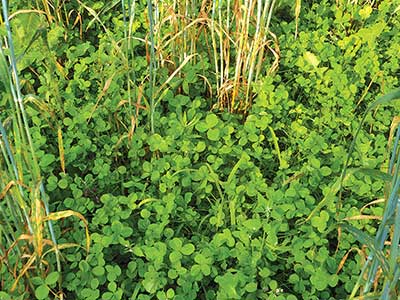
| Banatka wheat with a dense understory of Dutch white clover, and no weeds. | Hand harvesting Banatka wheat. |
 |
 |
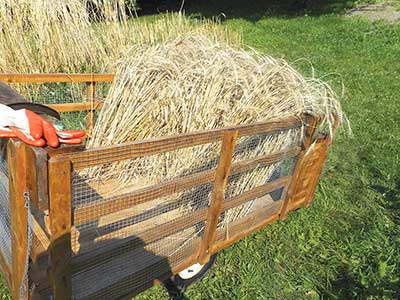
| Temporary storage in a drying cart. | Threshing uses a modified MacKissic chipper-shredder. |
By Ben Hoffman
After struggling for 10 years trying to grow and process cereal grains, I joined forces with an equally frustrated Bob Mowdy. We worked together for five years, intending to get into serious production, but time and age caused us both to cut back. I am now down to a small plot of Banatka wheat (great bread) and about one-quarter acre of hulless oats or Warthog winter wheat (also great bread).
Dropping back to such a small scale meant returning to some of the simple tools we used in our early years. Instead of a grain drill, I now use an Earthway seeder and a modified Brinly aerator/spreader pulled by my lawn tractor. I harvest by hand, thresh using a modified MacKissic chipper-shredder and clean with an antique Amish grain cleaner.
The planting tools cannot deal with a lot of surface trash and require a clean seedbed, which means rototilling twice (or plowing and discing). Since major disturbance destroys a lot of the soil biota, I follow grains with row crops where only the row is disturbed. I have had exceptional results in weed control by sowing Dutch white clover with my grains and retaining it as a living mulch for the row crops. Dutch white is so short that it does not compete with the grains or row crops, and it feeds their root systems with nitrogen. This year my clover didn’t germinate well, weeds took over my oats, and I ended up mowing the crop and leaving it to rot. Cultivating row crops disturbs only the row; I mow clover between the rows with a lawnmower.
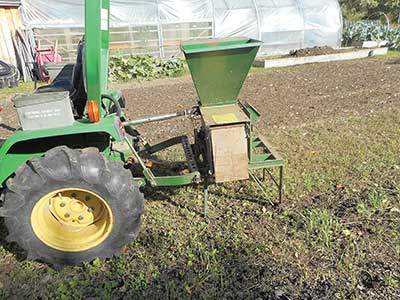
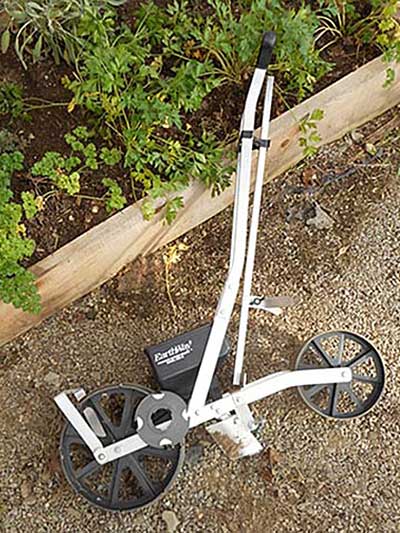
I modified an Earthway cucumber seed plate for sowing Banatka, which does best at 8-inch by 8-inch spacing. The modified plate drops seed about every 9 inches in rows 8 inches apart. The resulting plants are about 5 feet tall, with hefty 4- to 5-inch seed heads and 12 to 15 tillers per plant (up to 25!). When planted closer together, root systems are much smaller and the number of tillers is much reduced. (Earthway has a small publication on modifying seed plates with beeswax that does not work well with rough grain surfaces.)
 |
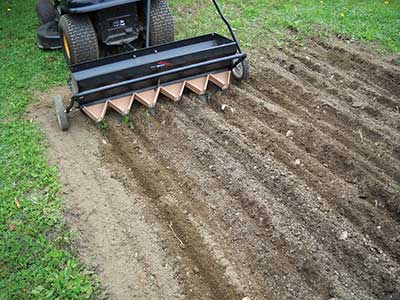 |
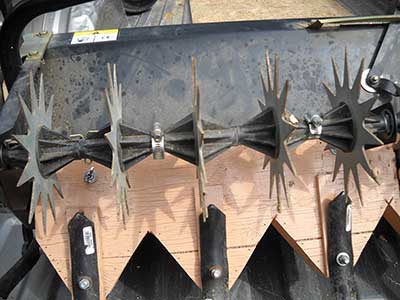
| The modified Brinly seeder with grain drops of plywood. The seeding rate is hard to control. | My lawn tractor pulls the Brinly, then a roller to compact the soil for better germination. |
 |
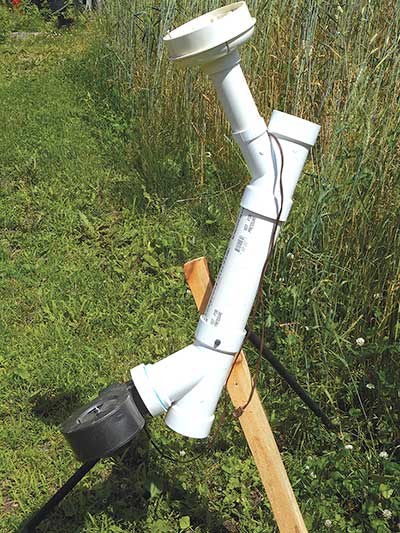 |
| Earthway seeder | My PVC pipe winnower does not remove small grit. |
 |
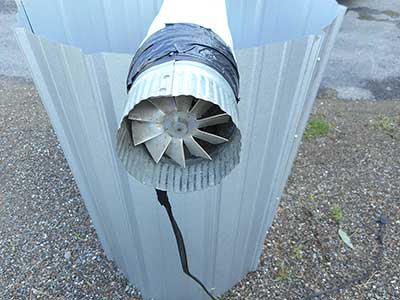 |
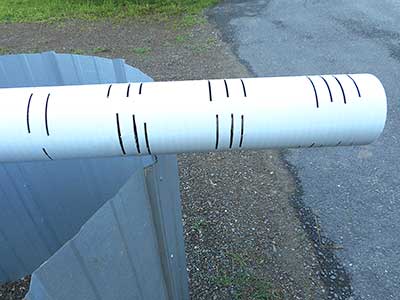
| Mowdy’s grain dryer; an in-line fan at the top of the drain pipe pulls air through the slots and works with a garbage can or 55-gallon drum. | |
Eliot Coleman sows multiple rows with gangs of up to five Earthway seeders, but in my stony loam pushing even a three-gang rig is impossible. The saving grace with stones is their supply of minerals to plant roots. But the inexpensive, single-row Earthway is fine for small plots.
For naked oats and Warthog wheat, I use the modified Brinly. My first version had grain drops spaced 6 inches apart, but I modified the spacing to 7 inches (and recommend 8). Some research shows that 6-, 7- and 8-inch spacing all produce about the same. My drops are made of three-eighth-inch plywood (metal would be better) with cultivator points to open the soil for seed. I have had no luck regulating the seeding rate; it consistently drops too much seed but not enough to be a problem. Tape over several openings in each drop would reduce the flow. Note in the photo that the aerator spikes are clamped to the drive shaft as all are needed on loose soil. A simple alternative is broadcast seeding.
Harvesting is the difficult operation. Being a lefty, I never found a scythe and grain cradle, so I resorted to a Chinese hand sickle. The sickle works well with Banatka and produces a minimum of stalk. A sickle-bar and hand hay rake might work with short grains but proved to be impractical with tall rye, so I hand-harvested my hulless oats this year. When hand harvesting, I place the grain in a cart with wire mesh sides that allows air to pass through; placing it in the sun on clear days and under cover at night is effective for drying.
Threshing can be a problem, but I modified a MacKissic chipper-shredder following plans found at https://members.efn.org/~itech/. Mine came from a Gravely tractor and is modified to fit the three-point hitch on my 19 HP John Deere. It works well on dry beans at idle and for cereal grains at 1,500 RPM. Ross Ludders modified a Kemp chipper-shredder, similar to the MacKissic, using rubber paddles in lieu of the shredder bars, but he reverted to the metal shredder bars. With any of these devices, speed depends upon grain or bean size and must be determined and regulated for each crop to minimize kernel breakage. Ross’s thresher worked best when sheaves were held, by hand, above the hammers and lowered until the hammers beat the grain heads, then the stems were thrown into a pile. This eliminated clogging the exit chute and made cleaning much easier.
I made a winnower (also by https://members.efn.org/~itech/) out of poly pipe and a small furnace fan, but winnowing does not remove small grit that often gets into the grain heads and can damage my grain grinder. My Amish grain cleaner removes both chaff and grit as well as undersized grains. A bean cleaner would work as well if proper screens were used. New screens sized for different grains are available from A.T. Ferrell for about $100 each.
For drying, Mowdy designed a simple system that works well in a garbage can or 55-gallon drum. He placed a 4-inch-diameter in-line fan on the top of a 4-inch piece of unperforated drain pipe and cut slots in the bottom half of the pipe. I run mine in the greenhouse while the sun is out but shut it off when humidity is high. A tarp on my blacktop drive works equally well on a sunny day.
About the author: Ben Hoffman is a retired forester who lives in Bradford, Maine.
